N891JF Canopy Hinging
N891JF Canopy Re-hinge (from side-hinged to front-hinged)
created June, 2013
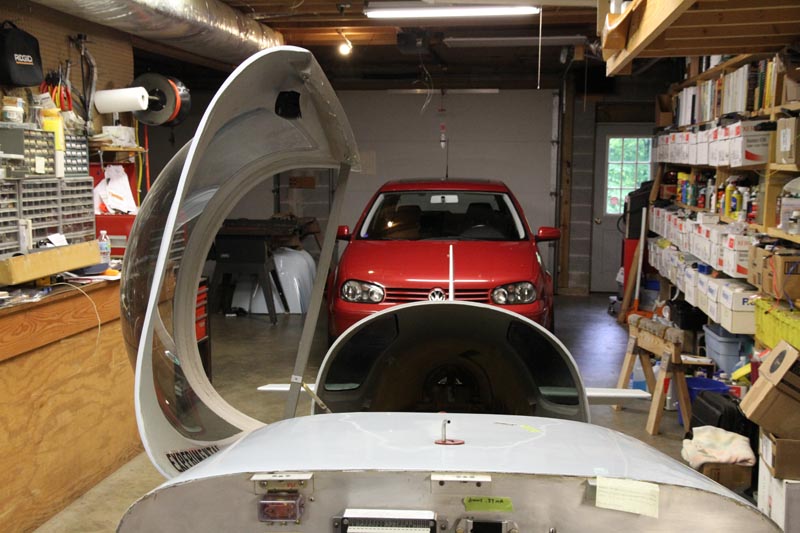
I have a few basic problems with the side-hinging canopy detailed in the original KR2 plans. The biggest one is safety. If the canopy is left (or becomes) unlatched in flight, it will immediately open fully and out onto the wing, and will then either rip off, or kill the lift on the inboard section of the wing. I know at least one KR builder/pilot who totalled his plane (and almost himself) when his canopy opened on takeoff, and the plane stalled and rolled off to the right and hit the ground. Not a pretty sight.
Another issue is safety on the ground. You can't let go of the canopy because the prop wash is constantly trying to rip the canopy off. This limits you to one handed operation, and lot of mental bandwidth focused toward hanging on to that canopy if you have it open far enough to keep cool in the summertime. A front-hinged canopy, such as N56ML has, closes itself under full power. Even when flying, if left unlatched, the canopy will rise a few inches and levitate there.
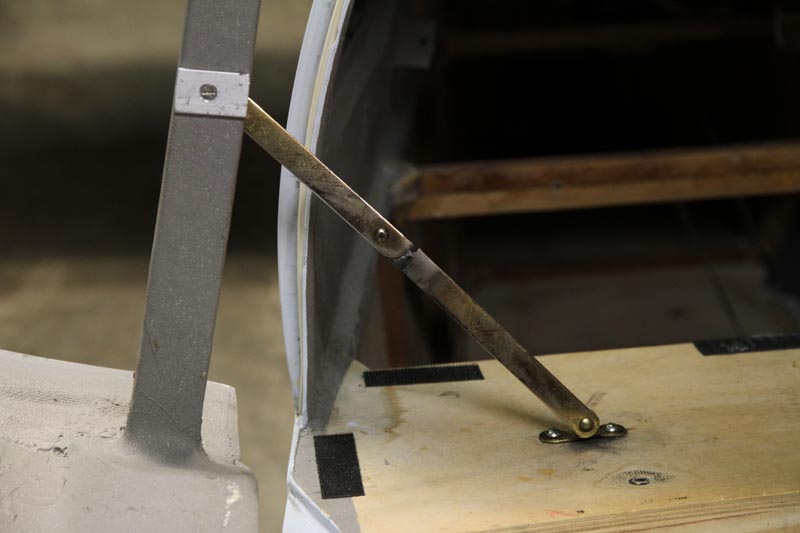
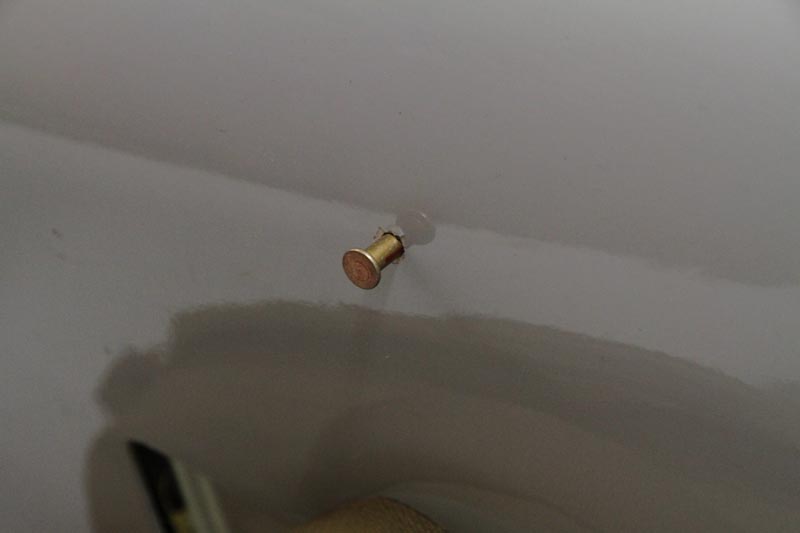
This is the usual limiting device for side-swinging canopy. This thing is really only good for wishful thinking. Note the weld near the joint. That's where I ripped it in half the first time I started the engine without latching the canopy first! The hinge slowed it down just enough for me to catch it before the canopy was to be ripped off of its piano hinge. There are other better ways to limit the canopy travel, but the best way is to hinge the canopy from the front so it's no longer an issue!
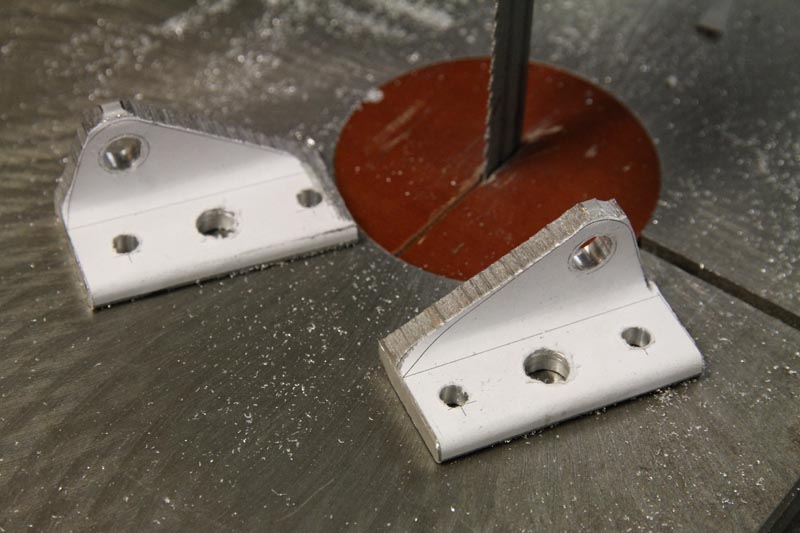
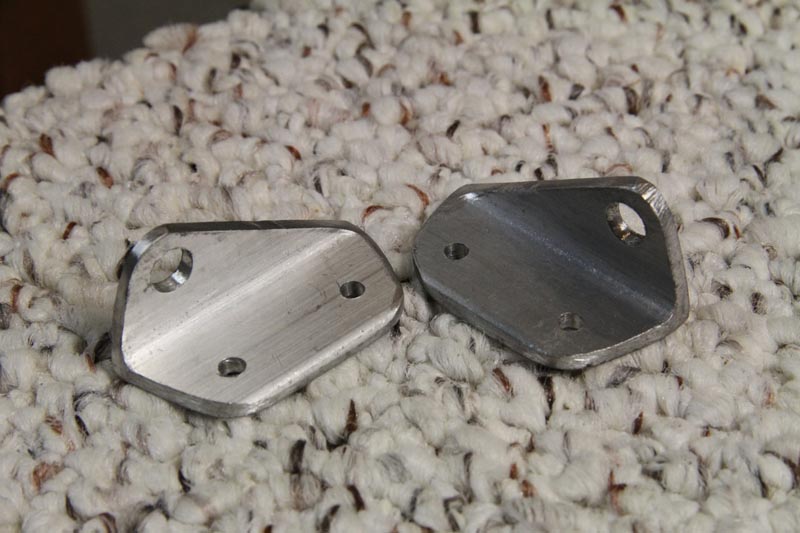
First I needed a pivot point for the hinges, so I hacked them out of 1" aluminum angle, 3/16" thick. This may appear to be a bit of overkill, but the actual pivot point will be outboard, so there will be a moment exerted on these.
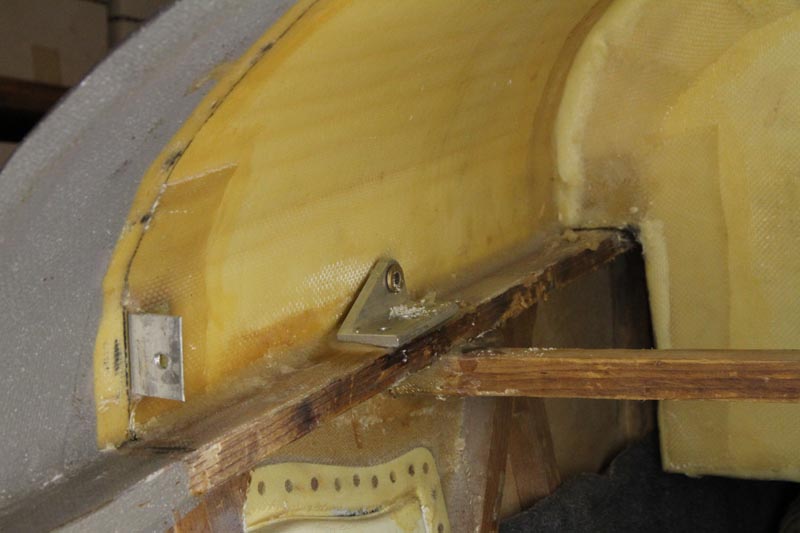
I used an oil impregnated bushing (aka "Oilite") as the pivot point, and future drill guide. As you can imagine, once the instrument panel is installed, this is virtually impossible to access, especially since the radio and transponder are immediately adjacent. This photo shows the angled epoxied in place with T-88 and flox. I will run at least one number 8 screw through the bracket just in case the T-88 joint fails.
I match drilled through the bushing to the outside, and then inserted this 3/16" pin as a placeholder. Latter I slid the bushing out of the way, dremeled out a 3/8" clearance hole around the area, and then epoxied a much longer straight bushing all the way through both the angle and the front deck, to get a very large and well-supported mount point for the pin.
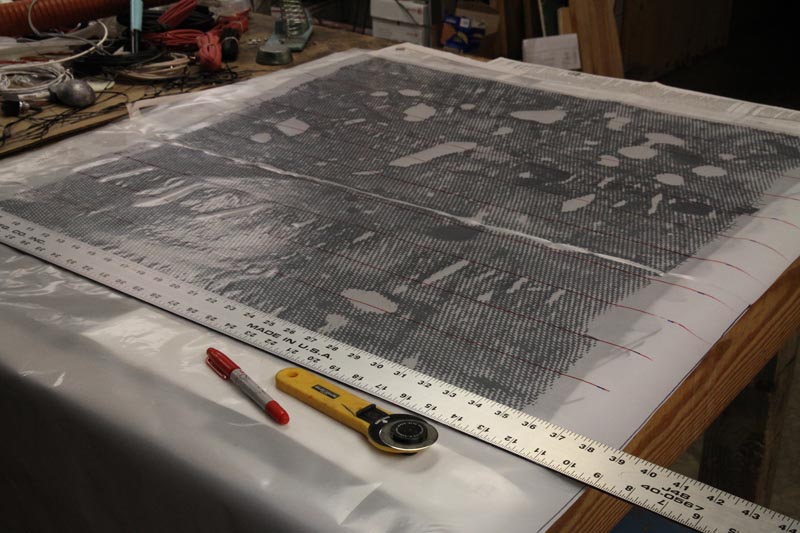
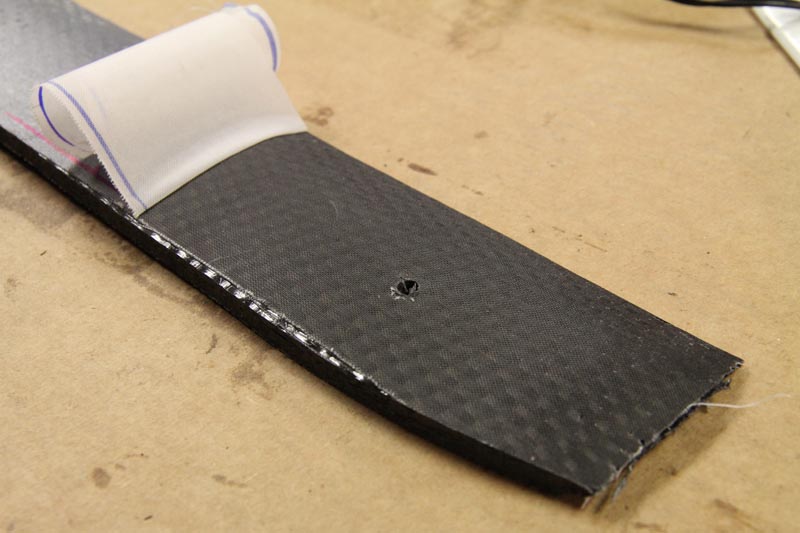
Next was the construction of the carbon fiber hinges, made from scrap carbon fiber. I forget the exact type, but it's pretty thick, at about .018" dry. I laid it up on top of "builder's plastic" from Home Depot (face up in this shot), covered with peelply, and then flipped it up and sliced it into 2.5" wide strips with a "fabric cutter" from Wicks. As you can see above, I made 11 strips.
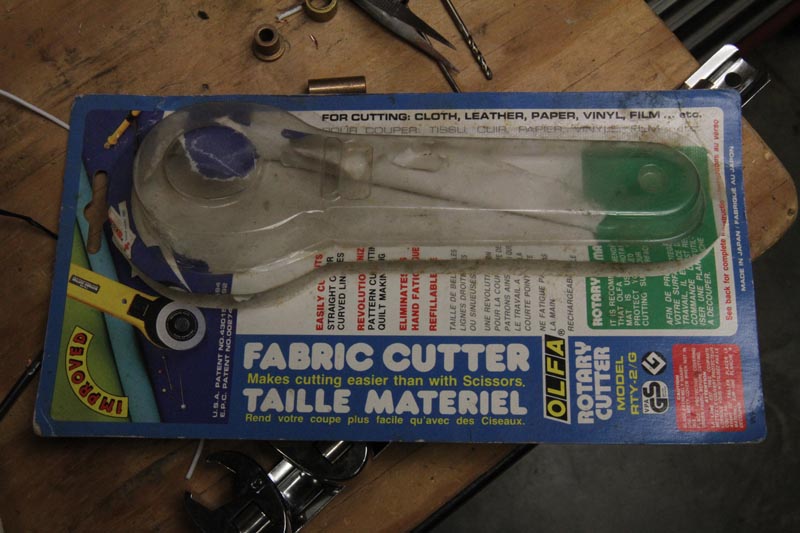
Fabric cutter details.
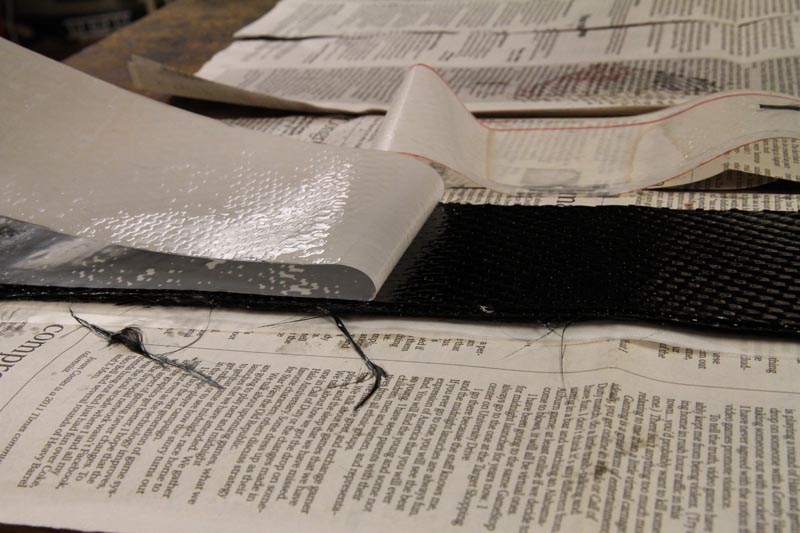
Peel off the plastic and stack the strips into a multi-layer layup. If you do this without the plastic backing, the carbon fiber strips will elongate and get very thin out in the middle, distorting the weave in the process. This was learned from experience, and is a very helpful technique any time composites are to be picked up and moved (stacked in this case) from where the epoxy was worked into the fabric.
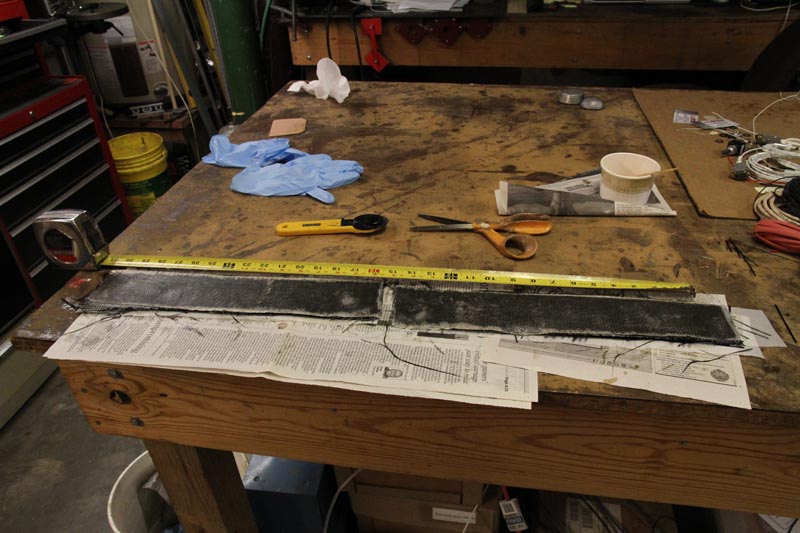
After I had one long hinge, eleven layers thick, I cut it in half to make the two hinges.Here's the resulting two hinge "blanks", about 12" long each.
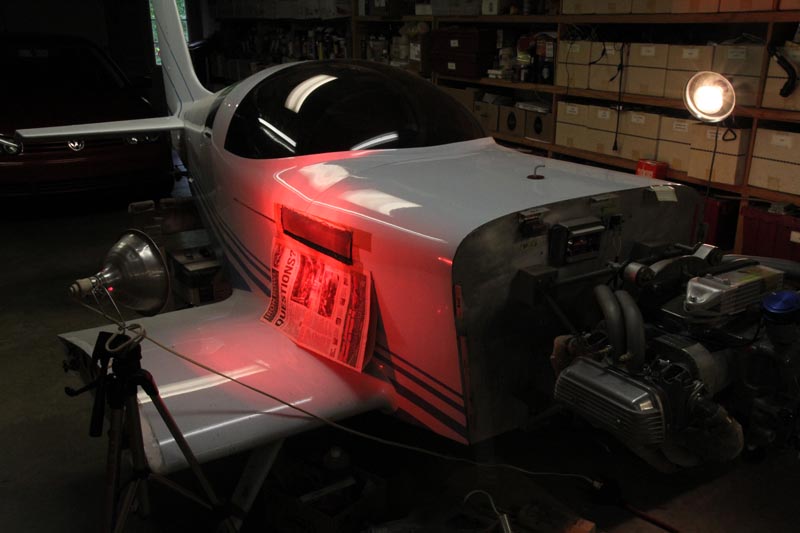
I had already taped some packing tape to the location of the hinges and applied the wet strips to cure in place, with the aid of some heat lamps. This was to assure a perfect fit to the contour of the plane, rather than making a pair of flat hinges and hoping they would work.
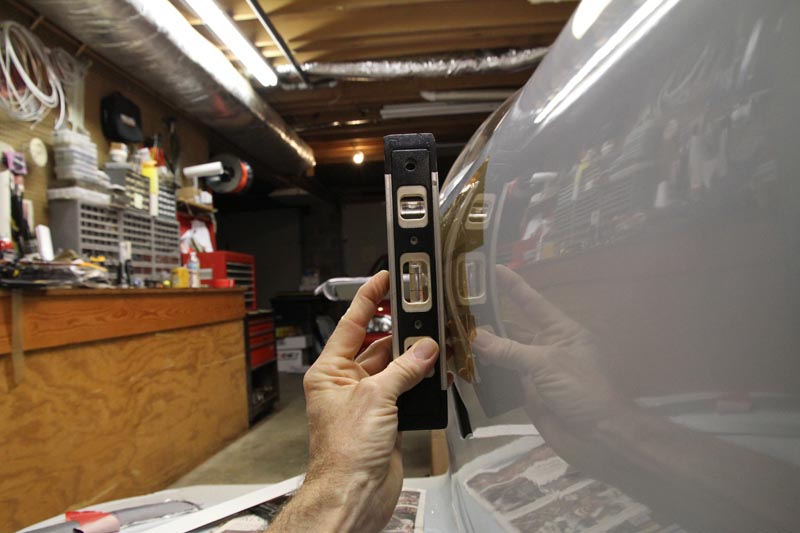
After they were cured the next morning, I peeled the future hinges off the fuselage. The hinges are curved to match the fuselage, so in order for them to rotate up, the inside bottom of the hinge (below the tangent point indicated by the level) would have to be clearanced to "vertical" in order to rotate upwards. It would have been nice if I'd raised the hinge point an inch or so, but too late now! Something to file away for future front decks, if using this approach. Of course you wouldn't use an external hinge anyway...you'd section the deck vertically to have an integral hinge instead.
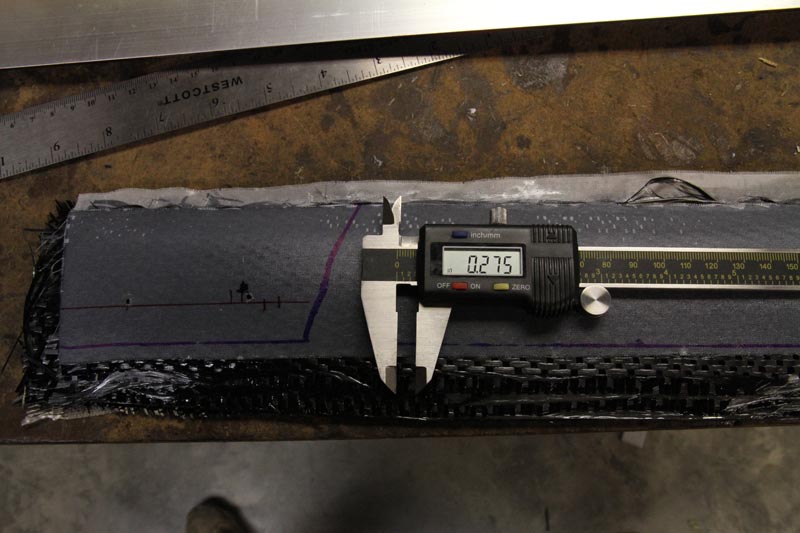
Generally speaking, the hinges are about .275" thick.
Peelply leaves a nice smooth surface with no pinholes. The hole was match drilled through the hinge bushing and into the hinge for perfect alignment.
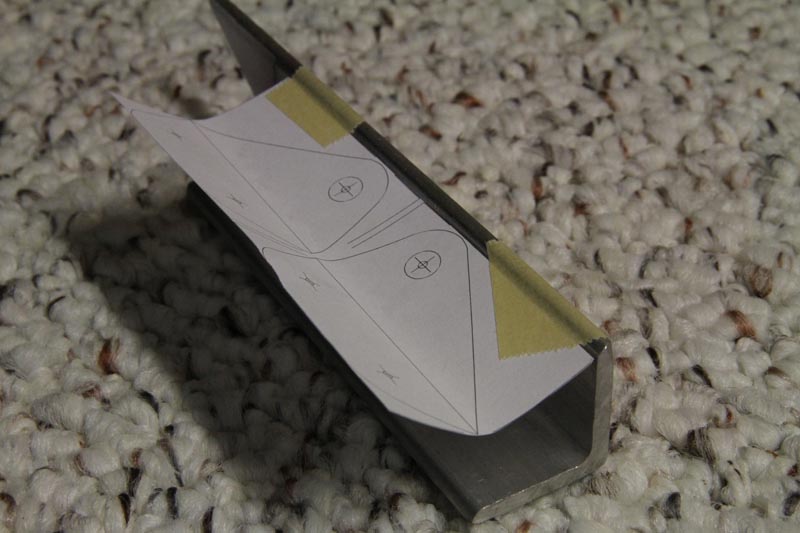
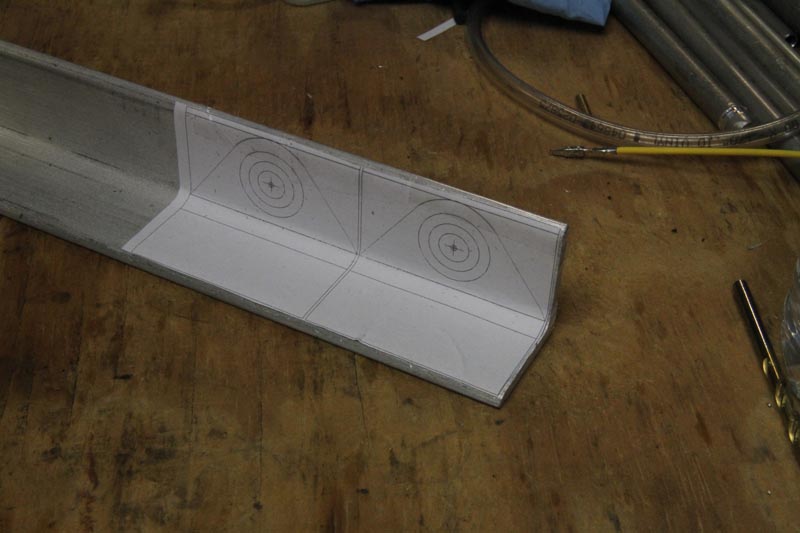
Next was the air strut mounting brackets. First I made a template with a CAD system, and did a trial fitup to the angle. I typically tape the paper to the angle, then flip the paper back and spray 3M "Super 77" adhesive on both angle and the back of the paper, wait a minute, and carefully work the paper into full contact with the angle.
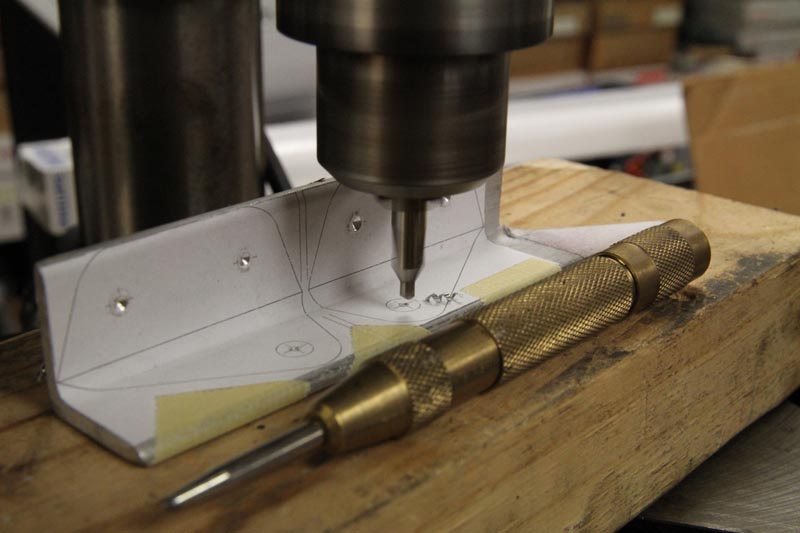
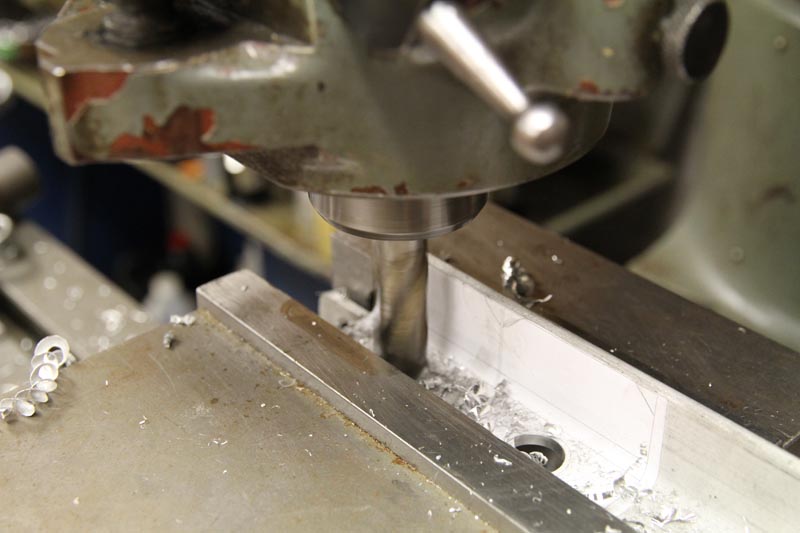
This is a countersink used as a "centering" drill bit, used to take a punch mark and turn it into a nice starting cone for a drill bit.
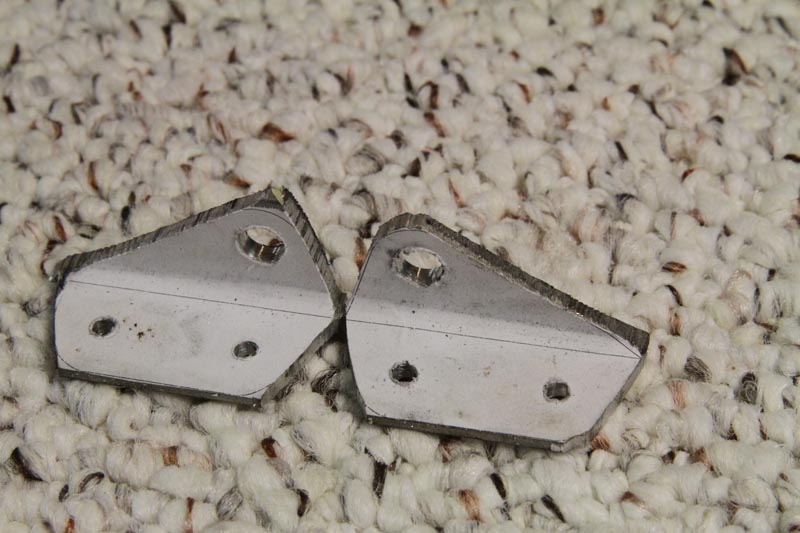
After drilling, a minute or two with the wood-cutting bandsaw gets them pretty close to the right shape...
...and then another minute on the belt sander almosts finishes them off.
Next are the aft air strut brackets that connect the strut to the canopy.
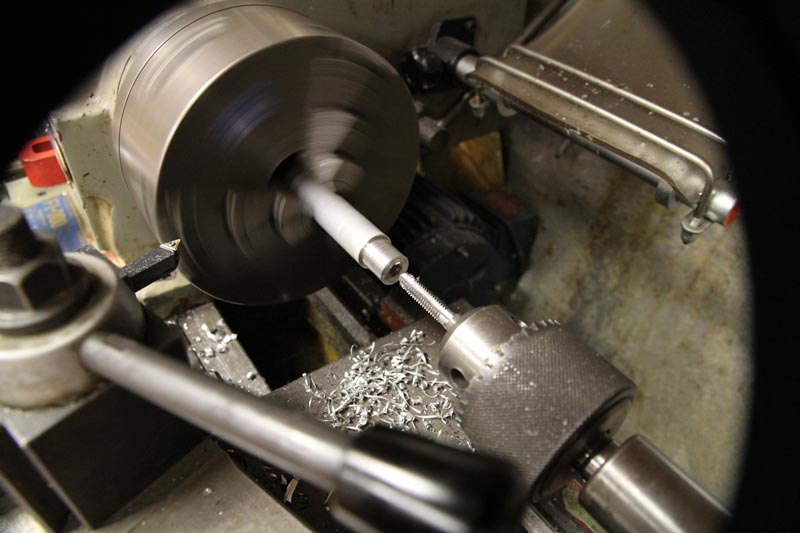
This "spool", which I machined with the lathe from a solid aluminum rod, got some 5/16-18 threads to match the air strut. You could just as easily drill and tap a piece of thick-wall aluminum tubing if you don't have a lathe.
Then I opened up the other part of the bracket to 5/8" to accept the spools.
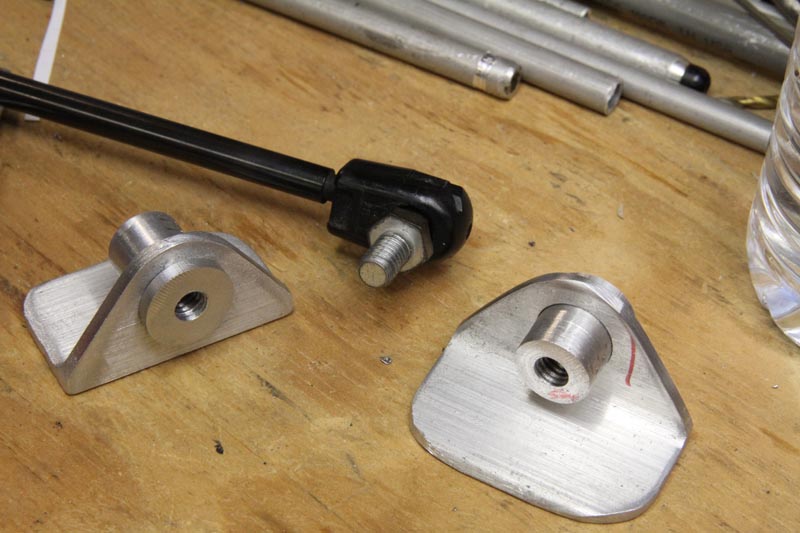
Here's the assembly before welding.
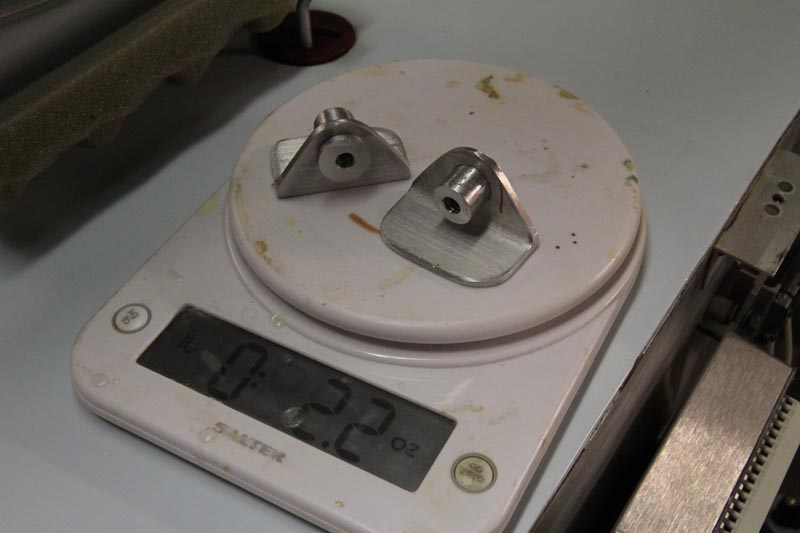
1.1 ounces each is pretty light.
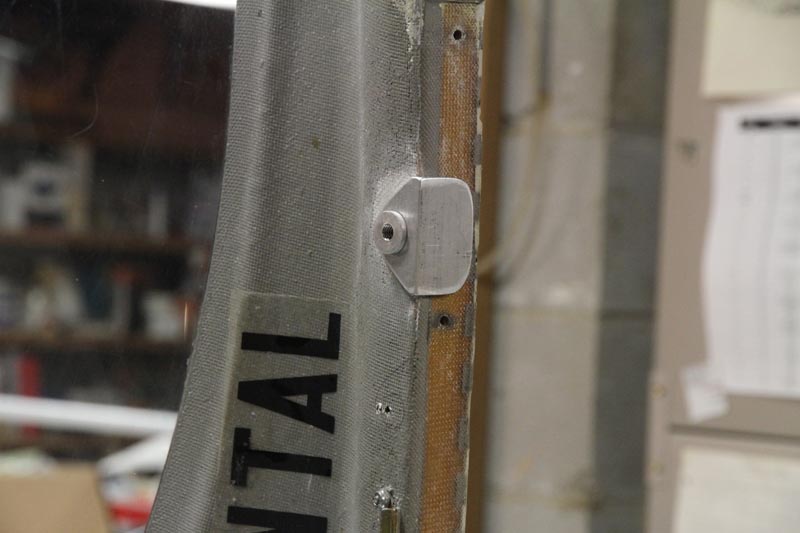
I will epoxy this in place and then screw it into the wood canopy frame rail for a very long-lived installation.
Pretty simple stuff, really...
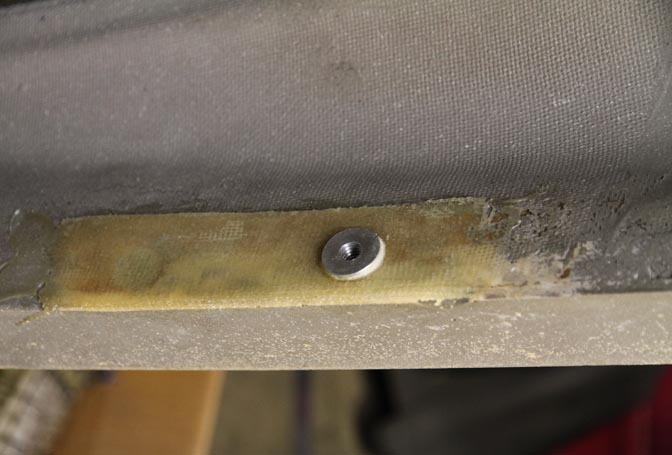
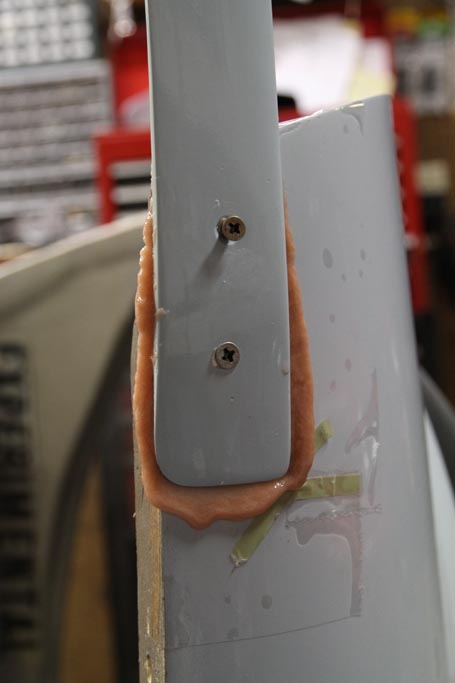
When it came time to install the angle/bushing weldment onto the pilot's side, I started reconsidering whether or not I was up to the hassle of cutting out a notch for the bottom of the angle, and realized some external paint touch-up was going to be necessary. So I did that side without the angle...only the bushing. I reinforced the wall first with four layers of 9-ounce 1" wide fiberglass tape first though, and backfilled the surround area with epoxy/flox/micro to give it more contact with other fiberglass structure, all the way out to the outside of the canopy frame. It's plenty sturdy, so I simply did the same thing for the passenger side, which I hadn't epoxied in place yet. This is much more elegant, and somewhat lighter without the angle. Obviously my fiberglass tape job will need to be smoothed over a bit, and the whole inside of the canopy needs to be resprayed with spatter paint, but that can all come later.
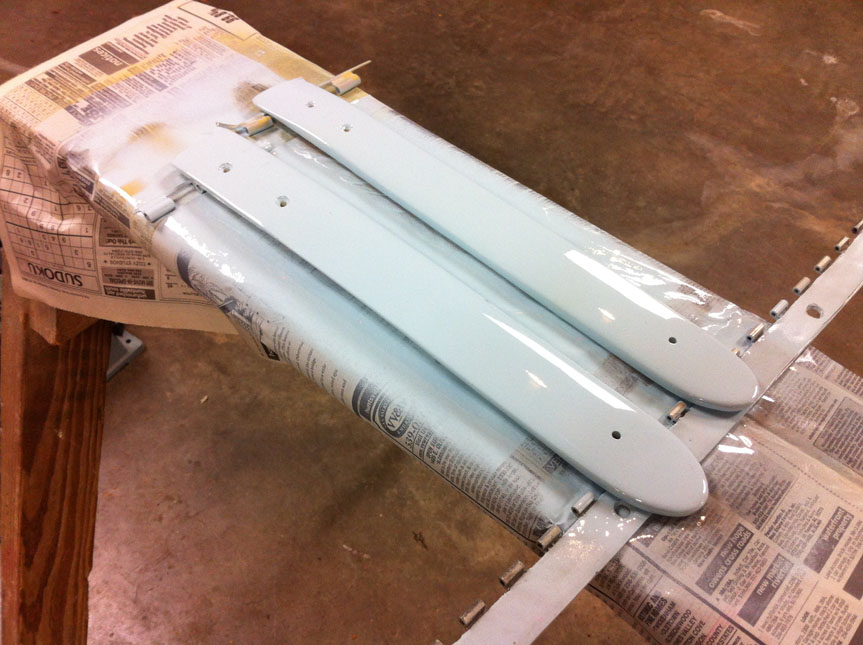
I finally got enough free time to paint the hinges with Chromabase basecoat/clearcoat, mixed at the local DuPont automotive paint store, with the mix recipe coming from one of those color matching camera-gizmos. It was apparently a perfect match for a 1978 color used to paint Corvettes, which doesn't surprise me, knowing Jim Faughn. I'll bet the darker blue color is the trim color on those same 'Vettes.
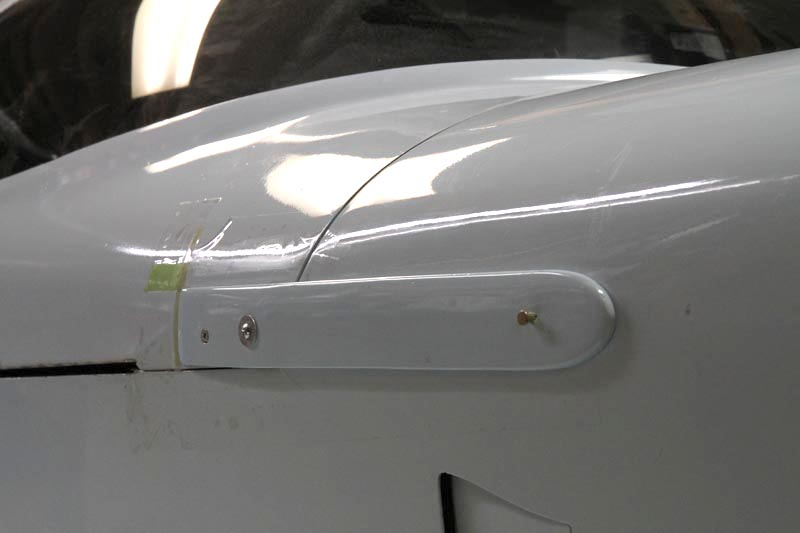
The trial installation looks pretty good. I then taped off the adjacent canopy and fuselage paint with clear packing tape (which acts as a release) to mask the areas that needed protection, and to mark the area that I'd need to prepare for epoxying the hinges to the canopy. Hardware is temporary...just holding it all together for the moment. The holes are not in a perfect line (nor do they match the other side) because of contours on the inside of the canopy that they mate with.
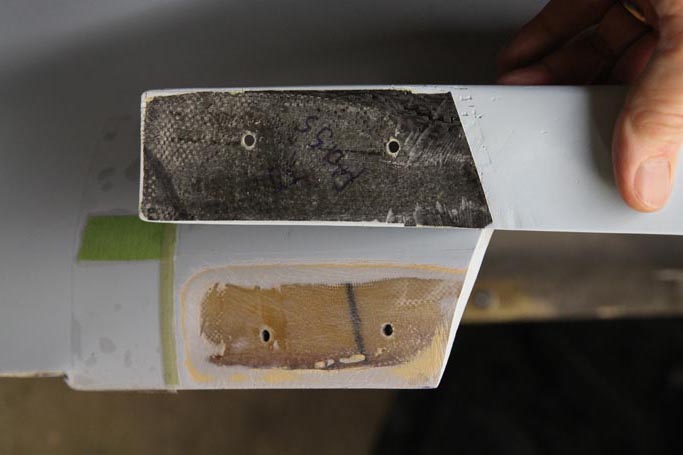
Here's where the hinges will marry up to the canopy. I sanded the paint and filler off to get a good bond directly with the fiberglass. This plane with built entirely out of vinylester, and Aeropoxy will stick to it just fine. The same can't be said of the reverse, vinylester on top of epoxy. Bolts will stay put, just in case, but I'd be shocked if this joint ever broke without the canopy frame coming with it.
I mixed up some Aeropoxy with flox to get a mixture that would sit hang from a tongue depressor and not drip off. This way I knew it wouldn't become a runny mess while I was trying to install the canopy in place.
This Aeropoxy has a pink tint because the hardener is probably five years old! It cured nicely though, as usual, as I've been using this stuff for years with no problem. After cleaning up the excess, the canopy was set back on the fuselage and the pivot pins were slid into place. This was to make sure that everything was perfectly positioned for fitment while the epoxy cured.
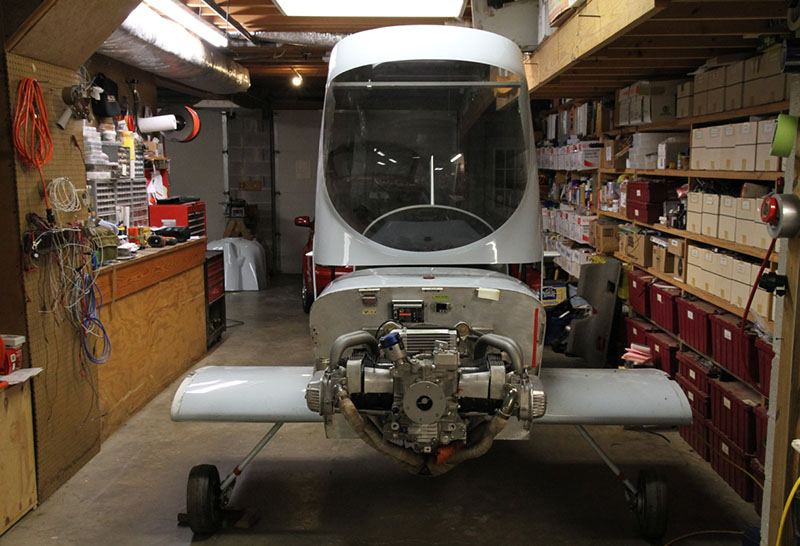
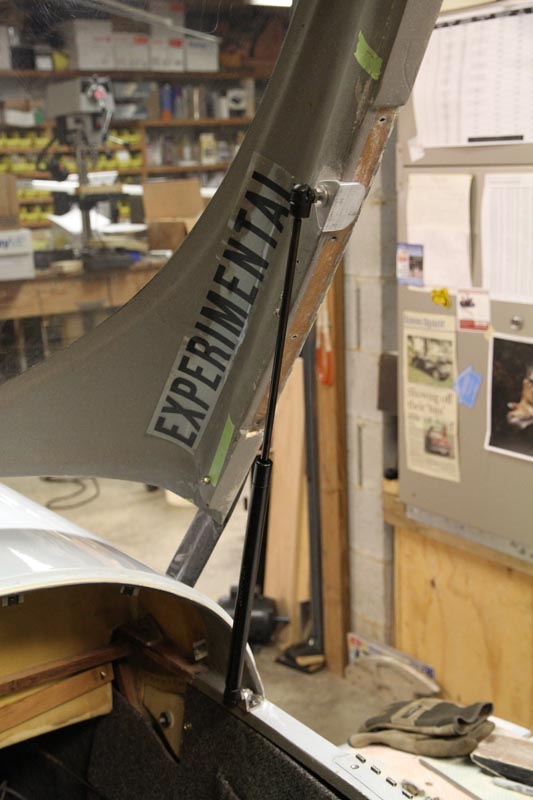
The next day, the canopy flipped up easily, I connected the air struts, and we have a front-hinged canopy! This took longer than expected for me to accomplish, mainly because I haven't had much time to put into it, but probably only about 25 hours of actual work. One other real bonus to the front hinged canopy is that taxiing a taildragger is considerably safer, because you can just hike yourself up on the seat back and get great visibility.

Now, canopy removal is accomplished by unscrewing the canopy struts and pulling the two piot pins. I'll replace the temporary hardware with countersunk screws, and paint the heads blue to blend them a little better. Latches are unchanged on the left side (you can barely see the "catch" through the tinted canopy, but I'll have to move the catch and latch for the passenger side, since the air strut interfered with operation of the old one (which was there only as insurance, since there was also a piano hinge).
On to other issues...
Return to Mark Langford's N891JF Refurb Project