Corvair Engine Disassembly
Corvair Engine Disassembly
December 15, 1999
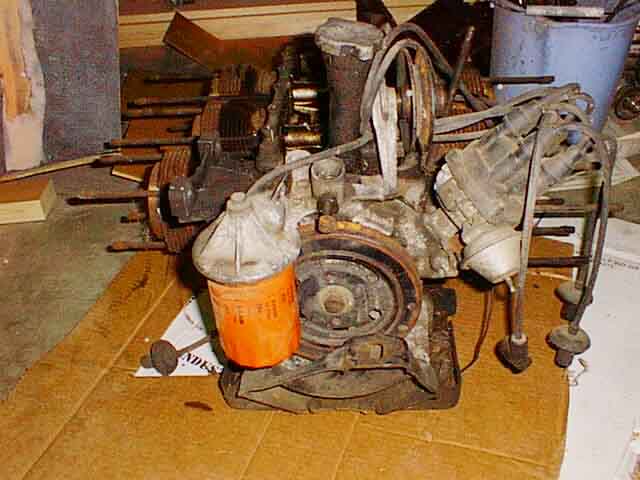
This is what will become my airplane engine, bought from a guy in Birmingham Alabama for $100. Not bad for 37 years old, huh? The heads were separate, and had supposedly received a brand new valve job. The rest of the parts weren't in a basket, but rather a large blue plastic pail (in the background). I bought this engine because the first one I bought from a guy in Wisconsin (also for $100) was so corroded (from the salty roads) that all of the top studs were completely corroded away up to the nuts, which were rusted solid.
I apologize for the quality of these pictures, but I was all greasy and didn't feel like setting up the tripod and doing available light pictures, so this is all I got. If you plan on building an engine, you really need the official GM "Chassis Manual" for 1965, which is available from Clark's Corvair or Corvair Underground for something like $20. But if you have any sense at all, you'll be able to tear this thing down without messing anything up, while you wait on your manual to arrive in the mail.
When removing head nuts, make SURE that you don't allow the studs to turn. Hold them with vice grips or something, but don't let them unscrew from the case. The stud/case junction is critical, and will be compromised if you do. And if you plan to do the 3100cc big bore job, be advised that if you screw up these threads, you don't have room to Heli-coil, which means you can't do the big bore job! You can also drill two small holes in the nut on opposite sides of the stud and then split the nut with a chisel. I did that with my second engine on every one of the top studs, just to make sure I didn't rotate the studs. That took about 2 hours!
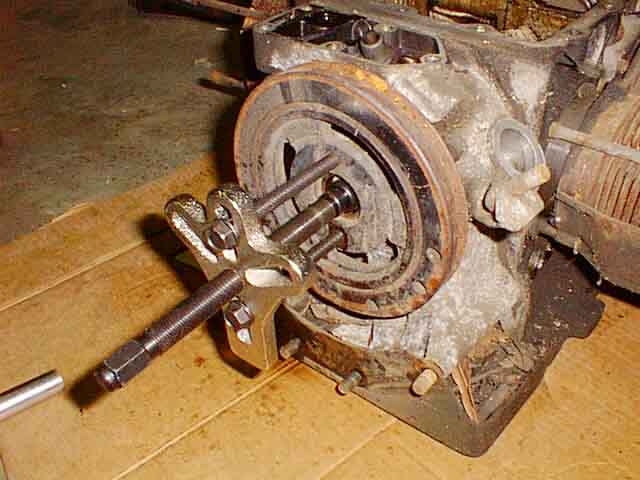
You'll need something like this gear puller to remove the harmonic balancer. I can't imagine getting it off any other way. This one came from Sears.
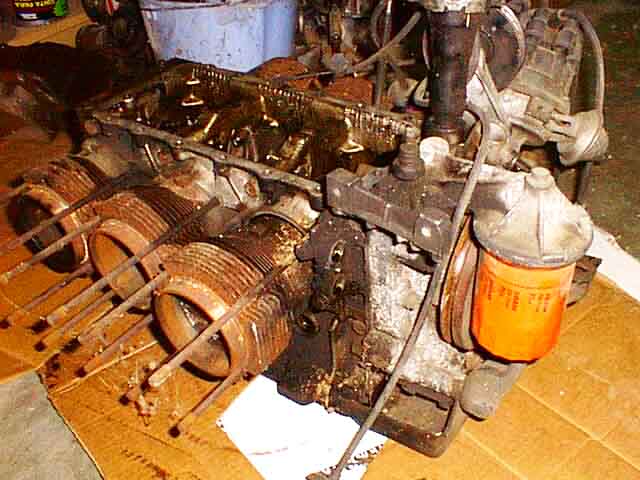
Here's the view from the top, after the grungy top was removed. Looks like the middle rod was a little discolored. After removing heads and cylinders, then rod/piston assemblies, it's time to remove the rear cover, and anything else that needs to get you down to the bare engine case.
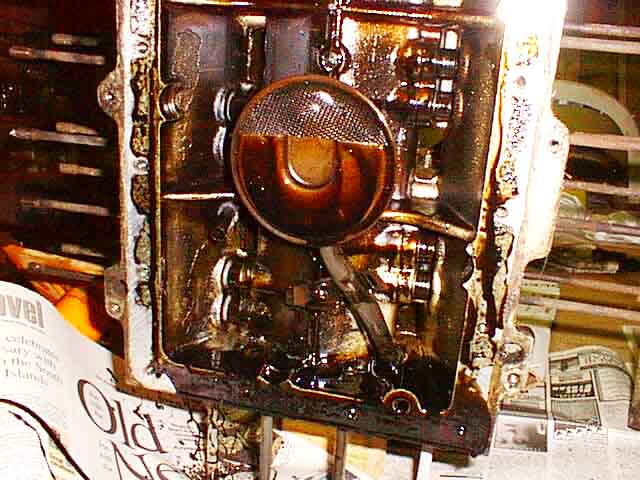
After the oil pan comes off, remove the oil pickup, because there's a mounting bolt for it which goes through both sides of the case. The incredible amount of gunk seen in this picture is why nobody has to worry about me going into the business of rebuilding Corvair engines for people.
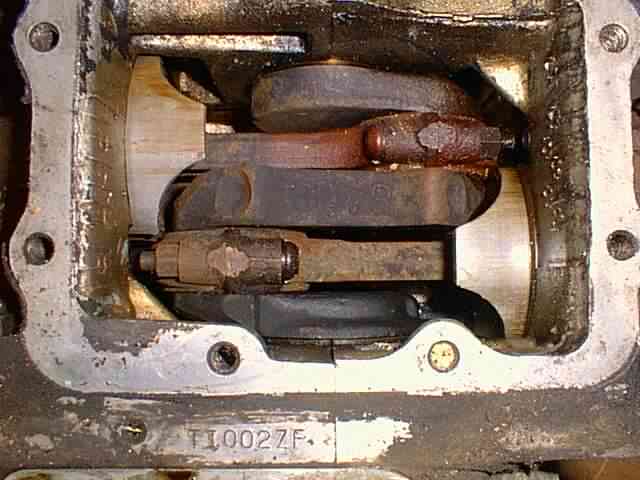
Once everything is removed from the case, remove the eight case bolt/nuts and tap the case apart with a rubber mallet, being careful not to let the crank fall out and scratch the cam (or itself). Slowly withdraw the lifters that haven't fallen out yet. Never pound on any of them, as you can ruin the lifter bore. Pulling while rotating with a magnet should be all you have to do. You're done disassembling!
Next I pressure washed all the BIG grungy stuff, and then took it to a local engine building shop to run through their "dishwasher". They have a huge dishwasher looking thing with some really nasty chemicals in it that make aluminum shine! Transmission rebuild shops will have one of these too, or know who DOES have one. I think it was about $35 to do case, rear cover, and both heads. I soaked the little parts in a 5 gallon can of carburetor cleaner, and then finished cleaning them in kerosene. Whatever you do, don't use gasoline!
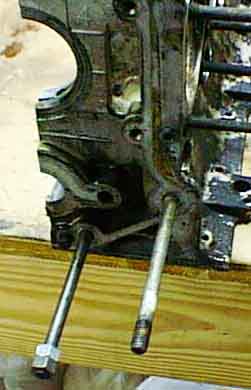
You MAY remove other studs that might get bent by double nutting and screwing them out.
I guess part of what makes me tick is taking a piece of junk and rebuilding it into an awesome machine. That's what's coming next...at Engine trial assembly time, in about a year!
Return to Mark Langford's KR2S Corvair engine.